
This tutorial was written by me on February 27th 2011. Any resemblance to another tutorial is purely coincidental. I created this tutorial using Paint Shop Pro X
but it should be able to be done in any version.
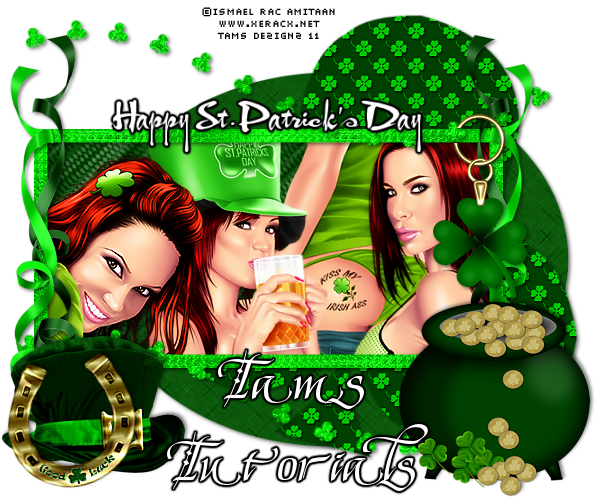
I'm using the stunning artwork of Tom Hoover. Don't use the same tube without a license. I purchased my tube from My PSP Tubes when Tom Hoover was with them. I'm not sure where he's at now.
Supplies:
The beautiful scrap kit St. Patty from Fantasy Moments. You can download it here.
Tube of choice.
Font of choice.
Mask of choice or you may use the same one I used from Sabre at The Quill and Parchment. I used his Clover's Daydream mask called Irish Gaelic Good Luck. You can download it here.
Eye Candy 4000 Gradient Glow.
Now onto the tutorial. Remember to safe often.
Open a new transparent image 700X700 so we have plenty of room to work. We will resize later.
Select all and open paper 17 or paper of choice. Paste into selection and select none. Open your mask in paint shop pro. Go to layers new mask from image and apply your mask. Merge group. I duplicated my mask layer twice then merge visible. This just made the mask a little darker.
From the scrap kit open element 59. Copy and paste as a new layer onto your working canvas don't resize. Grab your magic wand and click in the center of your shamrock then go to selections and modify, expand by 5. Open paper 18 or one of your choice. Paste the paper as a new layer and move it under your frame. Go to selections and invert. Make sure your on the paper layer and tap the delete key on your keyboard. Select none. Drop shadow your shamrock with drop shadow of choice.
Open from the scrap kit element 4 resize it 70% . Copy and paste onto your working canvas move to the top left of the shamrock. Dropshadow of your choice.
From the scrap kit open element 44 and resize 70%. Copy and paste onto your working canvas. Move to the bottom of your shamrock. Dropshadow of choice.
Open your tube of choice and copy paste onto your working canvas. Position her like I have mine or where you think it looks best. Dropshadow of choice.
Open Element 32 from the scrap kit. Resize 50% and then resize 70%. Copy and paste onto your working canvas. Position it at the bottom right of the pot of gold. Dropshadow of choice.
Open element 73 and resize 50%. Copy and paste onto your working canvas. Move it down to the bottom left of the pot of Gold. Dropshadow of choice.
Open element 57 resize 50% and then resize 70%. Copy paste onto your working canvas. Position down on the bottom left of the pot of gold. Dropshadow of choice.
Open Element 56 resize 50% and then resize70%. Copy and paste onto your working canvas. Position next to the little shamrock girl bear. Dropshadow of choice.
Now you can either add more elements of your choice or you can resize your tag.
I always resize my tags before I add my copyright or name so that both stay sharp. I resize my tag by 600X600 pixels all layers. Once I resize I sharpen each layer using unsharp mask my settings are: Radius 1.00 Strength 75 Clipping 4.
Add your copyright. I use font pixelette size 10 then I add a gradient glow to it.
On my wording I used the font Cry Unical size 48 for the Happy St. Patricks Day with a gradient glow of choice. My name is same font but size 65 with the same gradient glow as I used on the other words.
That is it we are done. I hope you have enjoyed doing my tutorial. I would love to see others results.

