
I created this tutorial on April 21, 2009. I created this tag from my own imagination if it resembles any other tutorial it's purely coincidental. I used PSP X to create this tag but it should be able to be done in any version.
Supplies:
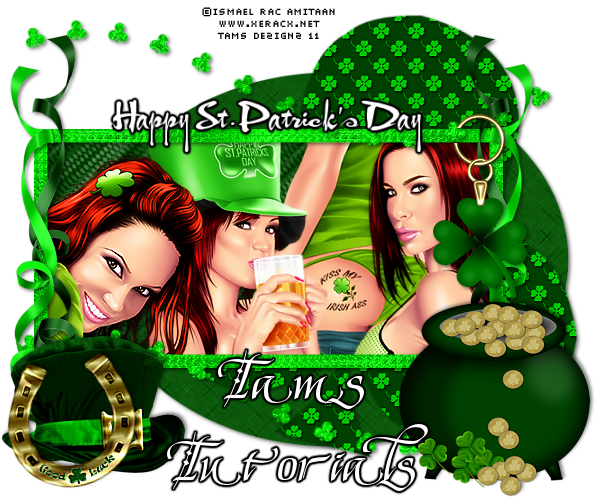
Tube of choice. I'm using the awesome artwork of Keith Garvey. You must have a license to use his work. You can purchase this tube here.
Template I'm using is from Cinnamon Scraps. A very talented lady. I'm using template #8. Please do leave her love if you visit her blog. You can find the template here.
Scrap Kit I'm using is a beautiful FTU scrap kit from Dreamland Designs. Do check out her awesome blog. If you download her items do leave her some love. Scrap Kit can be found here.
Font of choice.
Eye Candy 4000 for gradient glow (optional).
Let's get started.
Open the template in psp. Delete the copyright layer. Highlight raster 2 of the template. Go to selections select all float, defloat. Add a new raster and paste a paper of choice into the selection. Select none. Delete the template layer. Add a dropshadow of choice.
Highlight raster 3 select all, float, defloat. Paste a paper of choice invert and hit delete. Delete the template layer. Add drop shadow.
Repeat the above steps for the rest of the template layers. Make sure you add a dropshadow to all template layers.
On the layer with the word TROUBLE once you add your paper and delete the excess don't deselect. Expand the selection by 2. Add a new layer and flood fill with white. Move the white layer below the paper layer. Delete the template layer. Dropshadow the white flood filled layer.
Paste a tube of your choice into the square frame and delete the excess. If using the same tube I used resize 150% smart size and then sharpen. Change the blend mode of the tube to Luminence (L). Dropshadow of choice.
Add elements of choice and make sure to dropshadow each element.
Add your tube and place where you like. Dropshadow.
Add your copyright and license number if needed.
Add your text and dropshadow. Now resize your tag and save as a JPEG.
Thats it your done. I hope you have enjoyed this tutorial.
Supplies:
Tube of choice. I'm using the awesome artwork of Keith Garvey. You must have a license to use his work. You can purchase this tube here.
Template I'm using is from Cinnamon Scraps. A very talented lady. I'm using template #8. Please do leave her love if you visit her blog. You can find the template here.
Scrap Kit I'm using is a beautiful FTU scrap kit from Dreamland Designs. Do check out her awesome blog. If you download her items do leave her some love. Scrap Kit can be found here.
Font of choice.
Eye Candy 4000 for gradient glow (optional).
Let's get started.
Open the template in psp. Delete the copyright layer. Highlight raster 2 of the template. Go to selections select all float, defloat. Add a new raster and paste a paper of choice into the selection. Select none. Delete the template layer. Add a dropshadow of choice.
Highlight raster 3 select all, float, defloat. Paste a paper of choice invert and hit delete. Delete the template layer. Add drop shadow.
Repeat the above steps for the rest of the template layers. Make sure you add a dropshadow to all template layers.
On the layer with the word TROUBLE once you add your paper and delete the excess don't deselect. Expand the selection by 2. Add a new layer and flood fill with white. Move the white layer below the paper layer. Delete the template layer. Dropshadow the white flood filled layer.
Paste a tube of your choice into the square frame and delete the excess. If using the same tube I used resize 150% smart size and then sharpen. Change the blend mode of the tube to Luminence (L). Dropshadow of choice.
Add elements of choice and make sure to dropshadow each element.
Add your tube and place where you like. Dropshadow.
Add your copyright and license number if needed.
Add your text and dropshadow. Now resize your tag and save as a JPEG.
Thats it your done. I hope you have enjoyed this tutorial.


