Wild Spirit

This tutorial was created on April 10, 2008. This is my own creation.
The graphic I used is copyrighted to Russ Docken, you must have a valid license to use it. You can purchase one Here.
Check out Russ Docken's awesome artwork here.
Supplies you will need:
Font Wild Ride
Tube of choice
Mask Chat%2D12
Dreamcatcher pixel tube
Filter Xenexox 2 Constellation
My supplies HERE.
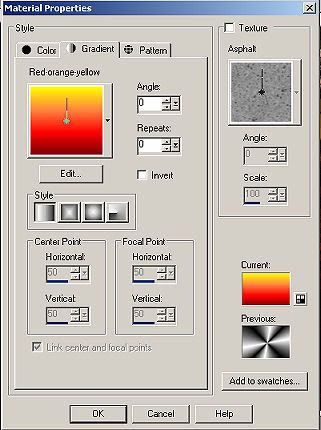
Lets begin by opening a transparent canvas 600X600. Food fill with Black. Add a new raster layer, set your foreground to gradient red-orang-yellow with these settings.
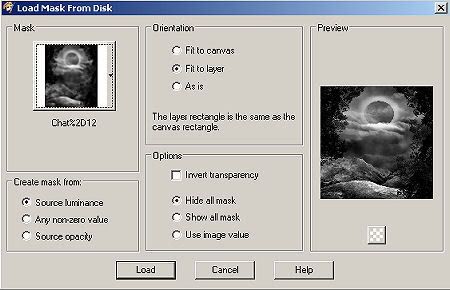
Flood fill new raster with gradient. Go to your layers down to Load/Save Mask, load mask from disk and find mask Chat%2D12 load with these settings.
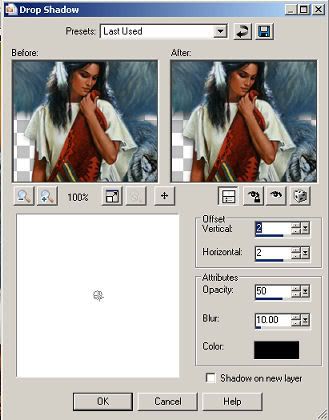
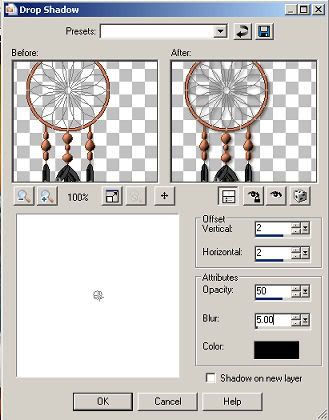
Delete your mask and click yes when prompted. Then merge group. Open the tube and copy and paste on your working canvas as a new layer. Resize by 80% and move toward the bottom of your canvas. Dropshadow with these settings.
Open the dream catcher tube copy and paste as a new layer. Move to the top left corner of your working canvas. Dropshadow with these settings.
Now go to your layer pallet and right click on your dream catcher layer and duplicate. Then go to image then down to mirror. Close off all layers except for your two dream catcher layers. Merge these two layers together.
Click on your text tool, set your background to your gradient. Font size 72. Type out your text. Convert to raster layer. Dropshadow with same settings as last time. Add your proper copyright and your watermark.
Time To Animate:
Highlight your dream catcher layer. Go to Effects then down to plugins, find your Xenofex 2 plugin. Click on constellation. Use these settings.
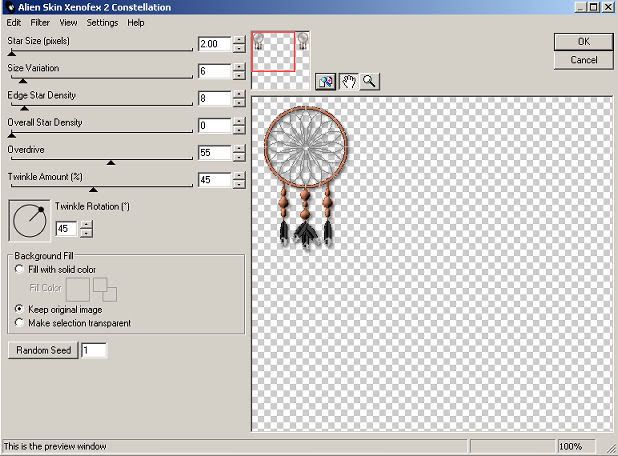
Open Animation shop. Copy merge your tag and paste as a new animation. Back in PSP click edit then undo constellation. Repeat constellation but click random seed once. Copy merge tag. Back in animation shop paste after current frame. Back in PSP go to edit and undo constellation. Repeat constellation but click random seed once. Copy merge tag. Back in animation shop paste after current frame. You should now have 3 frames in animation shop. Resize your tag by 80%. Click view animation if happy save as gif.
I hope you have enjoyed this tutorial.


No comments:
Post a Comment