Freedom

FREEDOM TAG
This tutorial was created on April 29, 2008. This is my own creation any resemblance to another tutorial is coincidental.
A very dear friend of mine by the screen name of Moonfire34 gave me the name for this tutorial. Love ya Moonfire.
The Images I'm using are © to Jeff Wilkie if you would like to own some of his work you can purchase them here.
Check out more of his awesome artwork here.
Supplies you will need:
PSP I used PSPX but you should be able to do this in earlier versions.
Animation shop.
7 Images by same artist.
Accent tubes
My Supplies HERE.
Let's Begin.
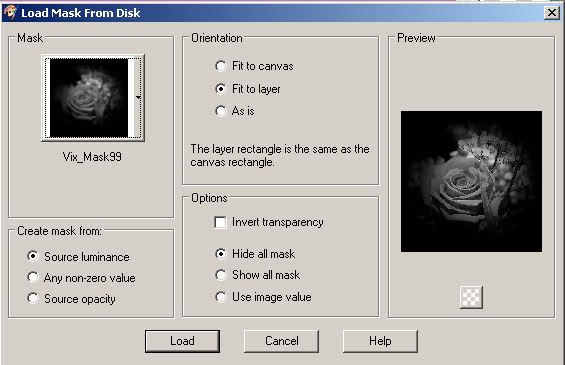
600X600 transparent canvas. Flood fill with black. Add a new raster layer. Flood fill with color #BC7BB4. Go to layers down to Save/Load mask, then load mask from disk. Find your mask Vix_Mask99. Use these settings.
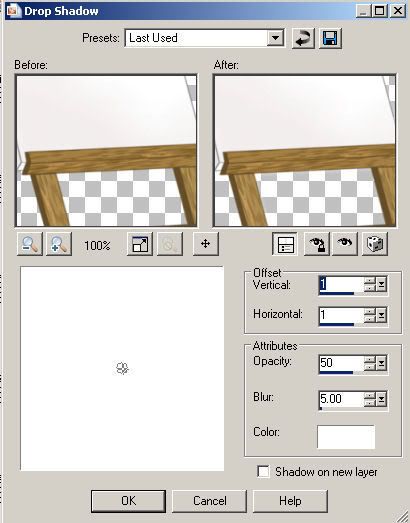
Go to your layer pallet and right click on your mask layer then delete it. Click yes when prompted. Then merge group. Open your VArtEasel and resize by 80% smart size two times. Copy your easel and paste as a new layer and move to the left side of the tag. Add dropshadow with these settings.
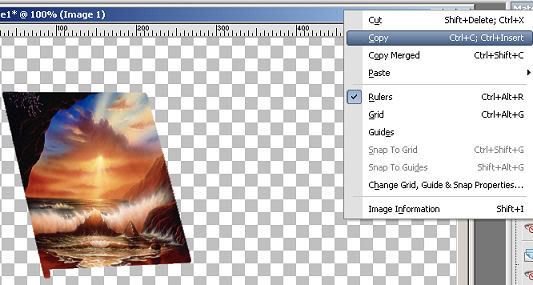
Go to your magic wand with settings Tolerance 20, Feather 0, Anti Alias checked, outside. Click on white canvas. Go to Selections then down to Modify, Expand.
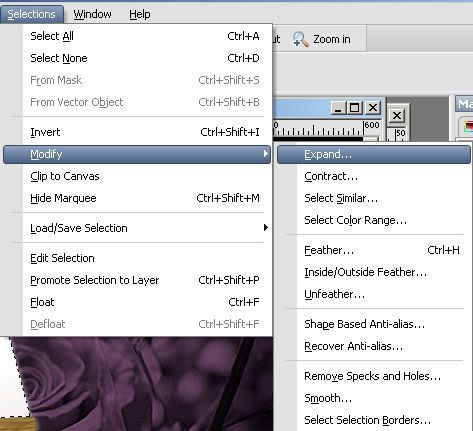
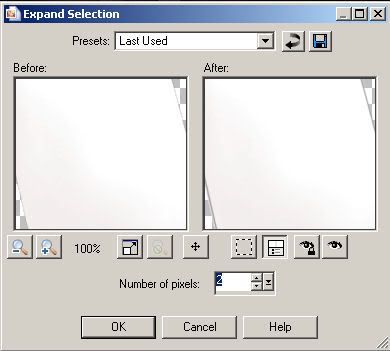
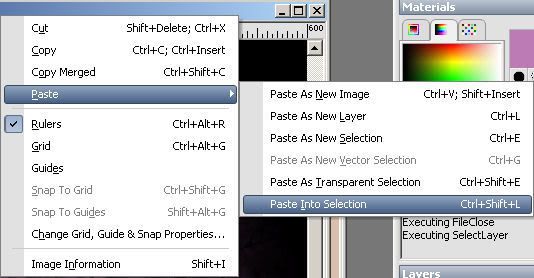
Expand by 2. Now open 7 images from the same artist. Copy 1st image. Add a new raster layer to your working canvas. Paste 1st image into selection. DO NOT DESELECT UNTIL WE ARE FINISHED WITH ALL 7 IMAGES.
Go to your layer pallet and right click on image one layer rename it Image 1. Then click on the little eye on Image 1 to turn off the visibility.
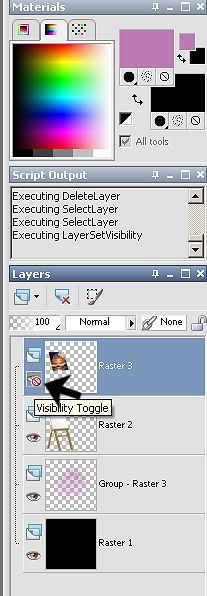
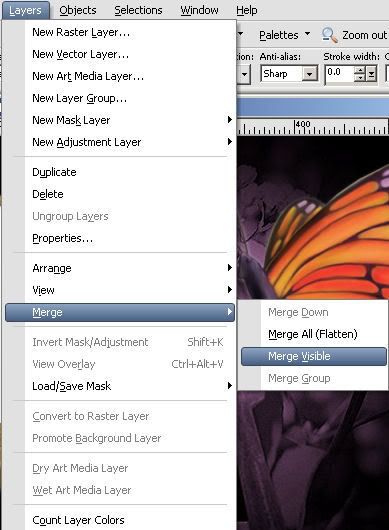
Add a new Raster layer. Choose another image. Copy and paste into selection. Rename this layer Image 2 and turn off the visibility. Add a new Raster layer. Choose another image, copy and paste into selection. Rename Image 3 and turn off the visibility of that layer. Add a new Raster layer. Choose another image. Copy and paste into selection. Rename Image 4 turn off visibility. Add new Raster layer. Choose another image copy and paste into selection. Rename Image 5 turn off visibility. Add a new Raster layer. Choose another image. Copy and paste into selection. Rename Image 6 and turn off the visibility. Add a new Raster layer. Choose your final image. Copy and paste into selection. Rename Image 7. Go to Selections down to select none. Add your butterfly or any accents you want to your tag. Choose a font or use mine. Set your size to 72, stroke width 2. Stroke color White. Fill color #BC7BB4. Type out your text and position where you think it looks best. Add correct copyrights and your watermark. Now make sure all your Image layers have the eye Xed out . Highlight your bottom layer which should be your black layer. Go to Layer, Merge, Merge Visible.
Starting at the top of your layer pallet it should be Image 7, Image 6, Image 5, Image 4, Image 3, Image 2, Image 1 and then your merged layer.
Time to Animate
Open animation shop. Back in PSP Click on the eye on Image 1. Copy Image 1.
Paste as a new animation in Animation shop. Back in PSP click on the eye on Image 1. Then Highlight Image 2 click on the eye to show image 2. Copy image 2 and go back to animation shop. Paste after current frame. Back to PSP. Close Image 2 and highlight Image 3 click on eye to open the visibility. Copy then back to animation shop and paste after current frame. Back in PSP turn off visibility of Image 3. Highlight Image 4 turn back on the visibility. Copy then in animation shop paste after current frame. Back in PSP repeat previous actions for Image 5, 6 & 7. Once you have pasted Image 7 after your current frame you should have 7 frames in animation shop. Click on your first frame in animation shop to highlight it. Then right click and copy. Then highlight frame 7 and paste image 1 after current frame. Go back to frame 1 and highlight it again. Go to effects, Insert Image Transition.
Use my settings here.
Click ok. Go to your next frame which should be frame 4. Highlight frame 4 then insert transition same settings. Next frame should be frame 7 highlight and insert transition. Next frame should be 9 highlight and insert transition. Go to next frame should be 10 highlight and insert transition. Go to next frame should be 13 highlight and insert transition. Go to next frame should be 16 highlight and insert transition. Go to next frame should be 19 highlight and insert transition. Go to next frame should be 22 highlight. Then right click on frame 22 and then delete it. You should now have 21 frames. Go back to frame 1 and highlight frame 1. Go to Edit down to Select All. Back to PSP. Click on the visibility of your merged layer and highlight that layer. Copy and paste as a new animation in animation shop. Now we need 20 more frames so hold down your CRTL, SHIFT keys at the same time. While holding those down press your L key on your keyboard. Keep doing this until you have 21 frames. Go back to frame 1 and highlight. Go to Edit down to Select All. Go to your first animation which is the image animation. Go to Edit copy. Then click on your main tag. Go to Edit, paste into selected frame.
Line your image up with the art canvas when happy with placement left click your mouse. Now go to Animation frame properties.
Set your frame properties with my settings.
Resize your animation by 80% smart size. View animation if happy save as a gif.
I hope you have enjoyed this tutorial.


No comments:
Post a Comment