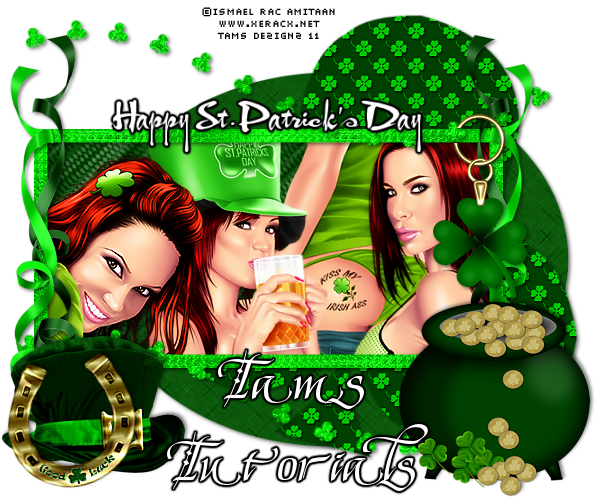
This tutorial was written on Dec. 1, 2008. This tutorial is completely my own design and if it resembles any other tutorial it's completely coincidental.
Supplies:
Tube or choice. I'm using the fantastic artwork of Keith Garvey and you must own a license to use his artwork. You can purchase his artwork and license here.
The Scrapkit I'm using is a FTU scrapkit from Misfitscrapz called True Blue. You can download it from their blog here.
The template is template #50 by Yvette. You can find the template at her blog here. Be sure to check out the rest of her blog she has some awesome templates and such on her blog.
The mask I'm using is from Zuzzanna and you can download it here. Then find mask 15.
Font of choice.
Let's Begin:
Open your template 50 in psp and then hold down shift and D to duplicate. Close your original template. Delete the copyright off your template. Now go to image and down to resize canvas and resize your canvas to 600x600. Now add a new raster layer just above your white background. Select all and then open paper 6 copy and paste into selection. Select none. Go to layers down to load/save mask and load mask from disk. Find your mask zuzzanna_mask15 and apply it using my settings: Source luminance, fit to canvas, Hide all mask, invert transparency. Hit load. Then merge your mask group. Resize your mask 90% smartsize.
Click on circle 1 select all, float, defloat, modify down to smooth and 10 on both. Open paper 13 copy paste as a new layer. Invert and hit delete on your keyboard. Delete your template circle. We will do the same thing for the rest of the template layers. Open paper 11 paste as a new layer and the invert delete. Delete your circle 2 template. Click on template circle 3 do all the above steps. Open paper 12 paste as new layer invert delete. Delete circle 3 template. Click on rectangle 4 do the above steps. Open paper 1 copy paste as a new layer invert delete. Delete your template 4 rectangle. Click on rectangle 5 open paper 2 copy paste invert delete. Delete rectangle 5 template. Click on rectangle 6 do above steps. Open paper 8 copy paste as new layer invert delete. Delete rectangle 6 template. Dropshadow all template layers with your choice of settings.
Set your foreground color to pattern and then find paper 6. Background to null. Click on your preset shape ellipse. We are going to make a frame around our light blue circle. Set your width to 8 and make sure your line style is solid line. draw out a circle large enough to go around your light blue circle. Use your nodes around your frame to pull it out until it covers the edges of your blue circle. Once you have it the right size click on it and convert it to a raster layer.
Now open the tube you want to use and copy and paste as a new layer on your tag. Position your tube over your lower right rectangle. Once you have her position the way you like then go to your rectangle layer click on it to make it the active layer. Go to selections select all, float defloat, invert. Then click on your tube layer and hit delete on your keyboard. All that should be left is the part you want showing on the rectangle. On your tube layer change your blend mode to Luminance (L). Repeat these steps for the rectangle in the upper right. I mirrored my tube on that rectangle. I changed the blend mode on her to luminance (L) also. Now paste your tube as a new layer one more time. Move her so that she is position over the light blue circle. Make sure this tube is the top layer. Now duplicate her and move the original tube layer under the frame you made around the blue circle. Now click on your eraser tool and erase the bottom of your original tube that is sticking out from your frame. You will want to close your duplicate tube layer so you can see what you are doing. Once your done with erasing the bottom of your tube open your duplicate tube. Erase all the bottom until she looks like she's coming out of the frame. Dropshadow your bottom tube.
Now add any emblishements you like from the scrapkit and make sure you dropshadow them also.
Resize your tag. Add your proper copyrights and license number.
Add your text and dropshadow it also.
Save as a Jpeg and your done.
I hope you have enjoyed this tutorial.


No comments:
Post a Comment