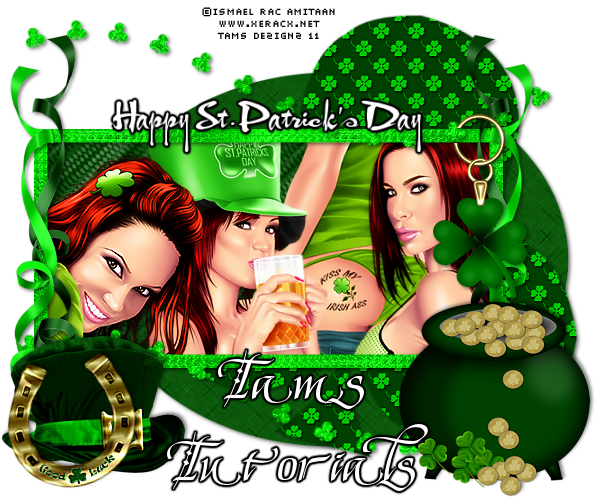
This tutorial was written by me on November 20th, 2008. Any resemble to another tutorial is completely coincidental. I created this tutorial in PSP X but it should be able to be done in any version.
Supplies:
Tube of your choice. I'm using the fantastic artwork of Keith Garvey. You must have a license to use his artwork. You can go to MPT to purchase Keith's work along with some other great artists.
The scrapkit I'm using is called Christmas Love and can be downloaded from bea's creations blog.
The mask I used is by Vix and it's called Vix's_Christmas mask5. You can download it from Vix's site under goodies.
My supplies here.
Let's Begin:
Place your mask in your psp mask folder.
Open a new canvas 600x600 flood fill white. We will crop and resize later.
Open paper 8 from the kit and paste as a new layer on your canvas. Go to Layers down to load/save mask, load mask from disk. Use my settings: Source luminance, fit to canvas, hide all mask, invert transparency unchecked. Apply your mask then merge group. I used my eraser tool to erase the words because I didn't want to use them on the tag. Duplicate your mask and then go to image mirror. Merge your mask layers together.
Open the frame from my supplies and paste as a new layer. Go to selections select all, down to float, then defloat. Open paper 7 and minimize on your workspace. Change your foreground color to pattern and find paper 7. Flood fill your frame with paper 7. Select none.
Grab your magic wand and click in the middle of your frame. Go to selections, modify, expand and expand 5. Open paper 3 paste as a new layer on your canvas. Selections, invert then hit delete on your keyboard. Select none and move paper 3 below your frame layer.
Open snowflake 2 resize 90% smartsize. Paste as a new layer and make sure it's under your frame layer. Open the tube you want to use and paste as a new layer inside your frame. Resize your tube if needed. Dropshadow your tube and frame with my settings: 1,1 50, 5.00 black.
Open candy 3 resize 25% smartsize. Position in the top right corner inside the frame. Duplicate candy and then go to image mirror. Use your deformation tool to rotate the candies until they form a heart. Merge the candies together and then sharpen, dropshadow.
Open stocking 1 resize 30%. Paste as a new layer inside the frame and move to the top left corner. Sharpen and dropshadow.
Open tree 2 resize 50%. Paste as a new layer and position in the lower right corner of your frame see my tag for reference. Duplicate your tree then go to image and mirror. Dropshadow both trees.
Open bow 4 resize 50%. Paste as a new layer and position in the top left corner of your frame. Duplicate your bow and then go to image and mirror. Dropshadow both bows.
Resize your tag.
Add your proper copyright and your license if needed.
Set your foreground to #ca2a84, set your background to pattern and use paper 3 for your pattern. I supplied the font I used and I set my size to 90, stroke 2. Type out your text convert to a raster layer. Dropshadow your text. Save your tag as a Jpeg.
Your done. I hope you have enjoyed my tutorial.


No comments:
Post a Comment