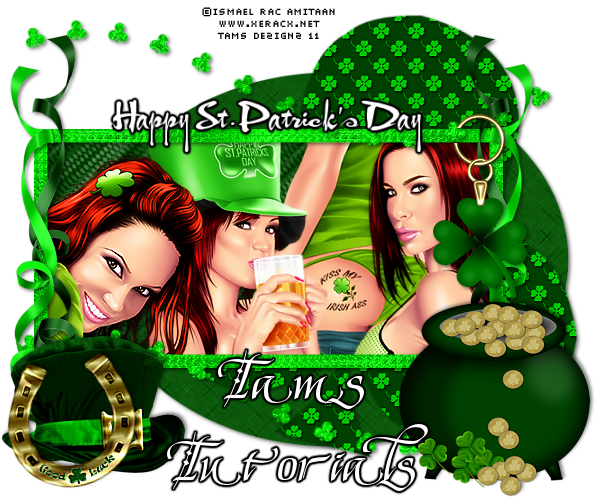
This tutorial was created on November 20th, 2008. Any resemble to another tutorial is completely coincidental.
Supplies:
Two tubes or images of your choice. I'm using the beautiful artwork of Suzanne Woolcott you must own a license to use her work. You can purchase her tubes at her online store here.
The scrapkit I'm using is called Just a girl and you can find it at Scrappy Bit Of Fun blog. You can download it here.
My supplies here.
Let's begin:
Place your mask in your psp masks folder.
Open a new canvas 600x600 and flood fill white. We will crop and resize later.
Add a new raster layer then go to selections and select all. Open paper 15 and copy, paste into selection. Select none. Now go to Layers down to load/save mask. Load mask from disk and find your mask tde_73 and use my settings: Source luminance, Fit to canvas, Hide all mask, Invert transparency checked. Apply mask and then merge group. Resize your mask layer by 90% smartsize.
Open Double white frame. Resize the frame to 600 pixels. Then resize the frame 90% smartsize. Copy, paste as a new layer above your mask layer. Grab your magic wand and click in the middle of both frames and go to selections modify expand and expand 5. Open paper 18 and resize to 500 pixels. Copy and paste as a new layer on your canvas. Go to selections invert and then hit delete on your keyboard. Select none. Move your paper layer under your frame.
Use your magic wand to click in the center of one of the frames and selections modify expand 5. Open one of the tubes or images you plan on using and paste as a new layer. Resize if needed and position inside the frame. Go to selections invert hit delete on your keyboard. Repeat this process for the other frame just use a different tube or image. Dropshadow your tubes with my settings: 1,1, 50 5.00 black. Now dropshadow your frame.
Open the rosette lines and choose one of the lines of roses you like. Copy and paste as a new layer. Resize 80% smartsize and place at the bottom of your frame. Now duplicate and go to image down to flip and position them at the top of the frame. Dropshadow both rosette lines with the same settings as before.
Open Bow-pearl-1 resize 15% smartsize. Copy and paste as a new layer and position at the top left corner of your frame and rosette line. Use your deformation tool to rotate the bow alittle. Now duplicate your bow and go to image mirror, position in the right top corner of frame and rosette line. Dropshadow both bows.
Open bundle of papers. Resize 40% smartsize. Sharpen. Copy and paste as a new layer. Position in the lower left bottom corner of your frame. Move this layer down until it's just above your mask layer. Look at my tag for reference. Dropshadow.
Close off your white background then click on your crop tool. Then click on merged opaque and then click in the middle of your tag. Open your white background back up and resize your tag.
Add the proper copyrights and license if needed.
Time to add your text. I supplied the font that I used. I used size 72 for the text in my prayers. Then used size 95 for my name. Colors I used are foreground #7a2d2c, background #d48989. Stroke is set at one. Type out your text and convert to raster layer. Dropshadow. Save as a Jpeg and that's it your done.
I hope you have enjoyed my tutorial.


1 comment:
Thank you! Your blog post will be advertised on the DigiFree Digital Scrapbooking Freebie search engine today (look for timestamp: 20 Nov [LA 09:00pm] - 21 Nov [NY 12:00am, UK 05:00am, OZ 04:00pm] ).
Post a Comment